
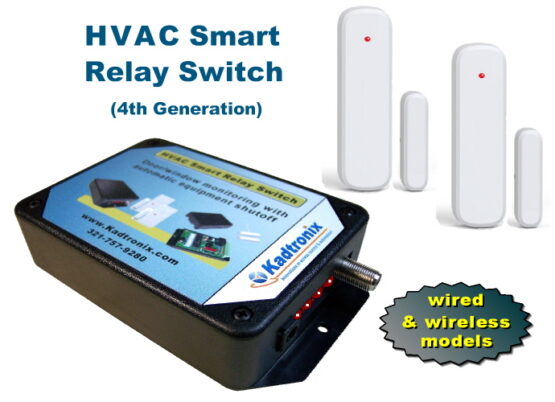
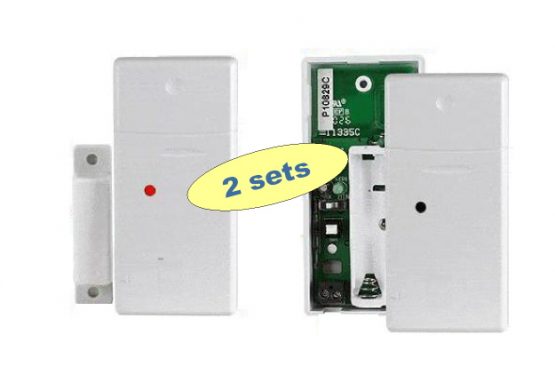
HVAC Smart Relay Switch (HSRS)
Price range: $249.00 through $434.00 Select options This product has multiple variants. The options may be chosen on the product pageOut of stock
Out of stock
Out of stock
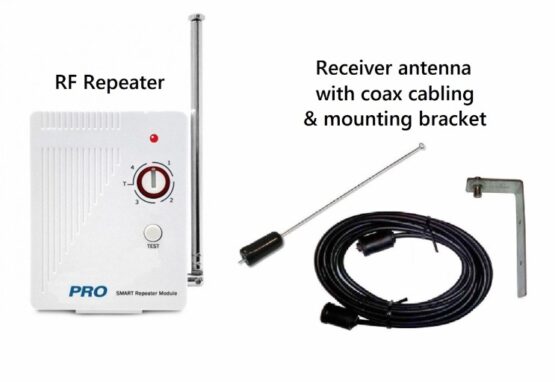
Wireless Range Extender (X10 – Class 2)
Price range: $149.00 through $327.00 Select options This product has multiple variants. The options may be chosen on the product page
Wiegand Format Converter
Price range: $289.00 through $349.00 Select options This product has multiple variants. The options may be chosen on the product page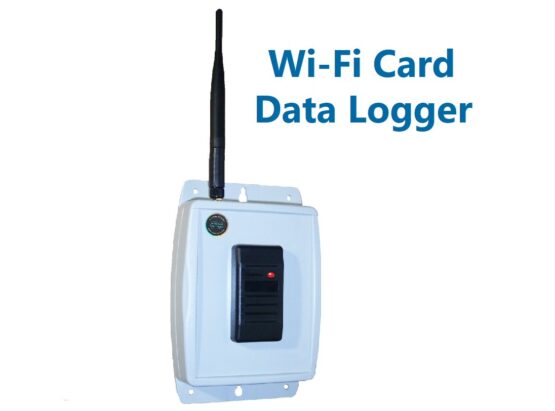
WiFi Card Data Logger
Price range: $899.00 through $2,188.00 Select options This product has multiple variants. The options may be chosen on the product pageSale
Out of stock

Smart Temperature Relay Switch (STRS)
Price range: $299.00 through $399.00 Select options This product has multiple variants. The options may be chosen on the product pageOut of stock
Out of stock