-
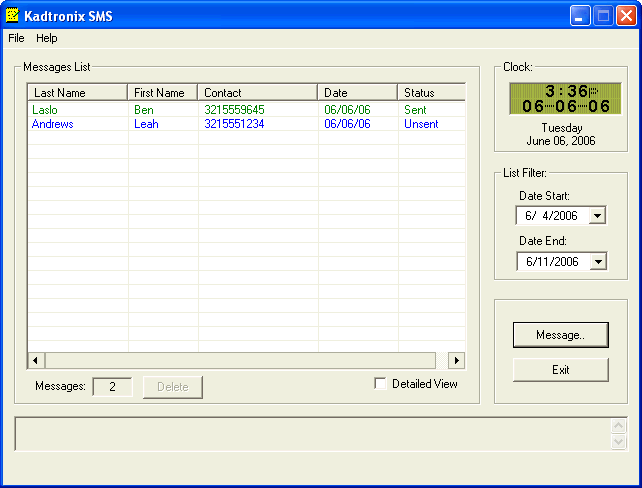
Message List
The dialog consists of several regions including message list, list
filter, clock, and convenience buttons. The message list displays
messages that have been created.
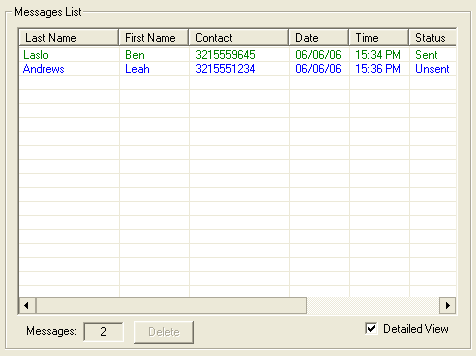
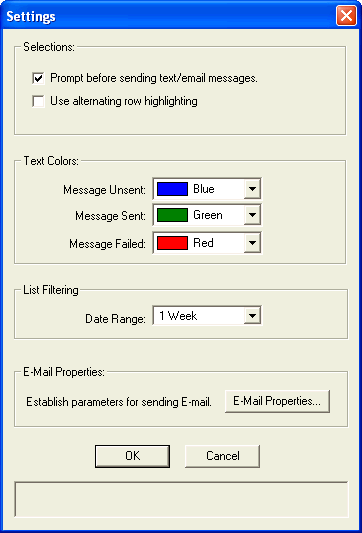
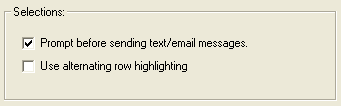
You may specify optional text coloring for visual message status.
For instance, green may be used to
indicate messages that have been successfully sent. Blue
may indicate messages that have been created, but not yet sent. And
red can be used to indicate messages
which failed during the send attempt. Use program settings
to change these assignments if desired. The bottom of the list region
contains several items of interest. The "Messages" field indicates
the total number of messages being displayed in the message list.
Note that this is not necessarily the total number of available messages.
(Refer to the list filtering for more information.)

Use the "Delete" button to permanently remove a message. The button
remains disabled (grayed) until a message is selected (highlighted) in
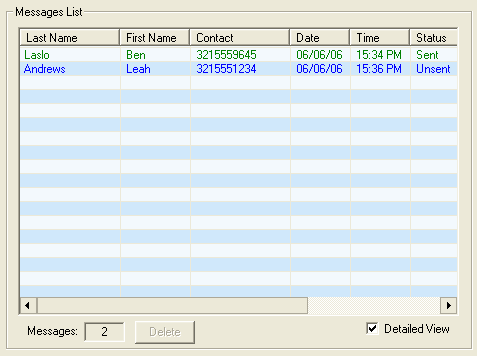
the message list. The check box at the right titled, "Detailed View"
allows you to choose the amount of information to display in the message
list. When checked, all available record fields will be shown.
(Use the horizontal scroll bar to see hidden fields.) When unchecked,
only a subset of fields will be displayed.
-
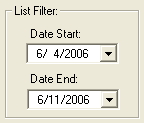
List Filter
The list filter allows you to select a range of created messages based
on a specified date range. This is useful in limiting the number
of messages to display in the message list. Any messages that were
created within the specified range will be shown, while all others will
be hidden. There are four available filter range selections:
None, 1 day, 1 week, or 1 month. (Refer to program settings
for details.) You may adjust the range by left-clicking on the "Date
Start:" and/or "Date End:" controls. You may also select a default
range using the program settings.
-
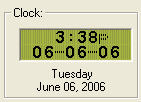
Clock
The clock region shows a digital time and date display. The time
and date are shown in a LCD-like format. They are also given in standard
text format.
-
Convenience Buttons
KSMS also provides convenience buttons as shown below:

The "Exit" button terminates the application, saving any changed settings.
The "Message..." button allows you to create and/or edit messages to send.
-
Create Message
The "Message..." button allows you to create new messages and/or modify
a previously created message. To modify a message, you must first
left-click select it from the message list. Then, click the "Message..."
button to invoke the following dialog:

There are several regions including identification, send-to, message,
and buttons. Enter the requested parameters in the fields as shown.
Field values must be properly entered to allow KSMS software to send SMS
text and/or e-mail messages. A valid e-mail account is required.
If necessary, consult your network administrator for assistance.
The identification region provides fields for entering the recipient's
name.

The "Send To:" region provides a message type selector: SMS text
message or standard e-mail. To specify a text message, left-click
the "Text Msg:" specifier. This will enable a field for entering
a 10-digit cell-phone number. To specify an e-mail address instead,
left-click the "E-Mail:" specifier to enable a field for entering an e-mail
address.

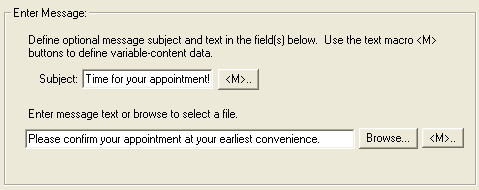
The next region allows the entry of a message subject and body.
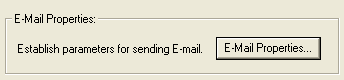
If desired, these fields may be pre-populated. (Refer to Email
Properties for more information.)
-
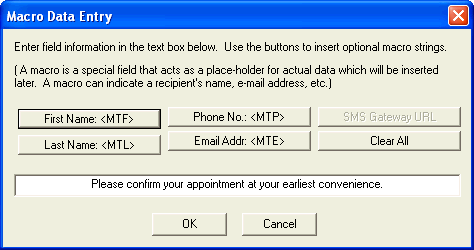
Macros
Use the <M>... (macro) buttons to enter optional macro strings.
Macros are special string fields that are to be replaced with actual data
when the message is sent. They are especially useful for specifying
how to generate text messages for a particular SMS-to-Email gateway.
Macros allow you to define variable-content data including name, phone
number, etc. Left-click the macro button to display the following
dialog:
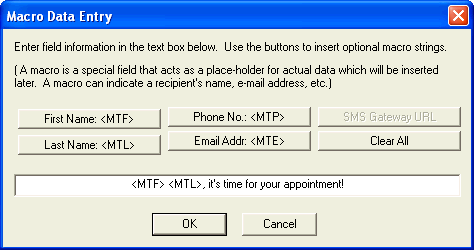
The example above indicates that the recipient's first name and last
name are to be prepended to the text. When the message is sent, the
macro strings will be replaced and text will read, "Ben Laslo, it's time
for your appointment!". When you have completed the macro definition,
use the "OK" button to close the dialog and save your entry.
Several buttons are provided at the bottom of the message dialog:

Use the "Send" button to send the message to the specified recipient.
The button remains disabled (grayed) until pertinent fields have been defined,
including first name, last name, and cell phone (or e-mail address).
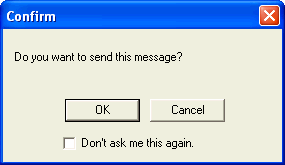
When sending, the following confimation dialog may be displayed:
(Note: Each attempt to send text or e-mail messages results
in log data saved to a file within the KSMS program folder. This
file is named SendEmail.log and provides useful information for trouble-shooting
purposes.)
Left-click the "OK" button to send the message and close the message
dialog. (To disable further message confirmations, use the check-box
titled, "Don't ask me this again.".
Click the "New" button to clear all fields for creating a new message.
(Note: If you have specified a message subject and/or body in the
Email
Properties dialog, then these fields will be pre-populated in the message
dialog.) The "Cancel" button is used to exit the dialog without sending
the message. When using this button, the following prompt may appear:
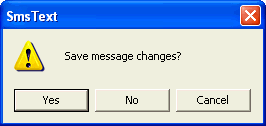
Choose "Yes" to save your changes or "No" to abandon them. Choose
"Cancel" to continue making changes in the message dialog.